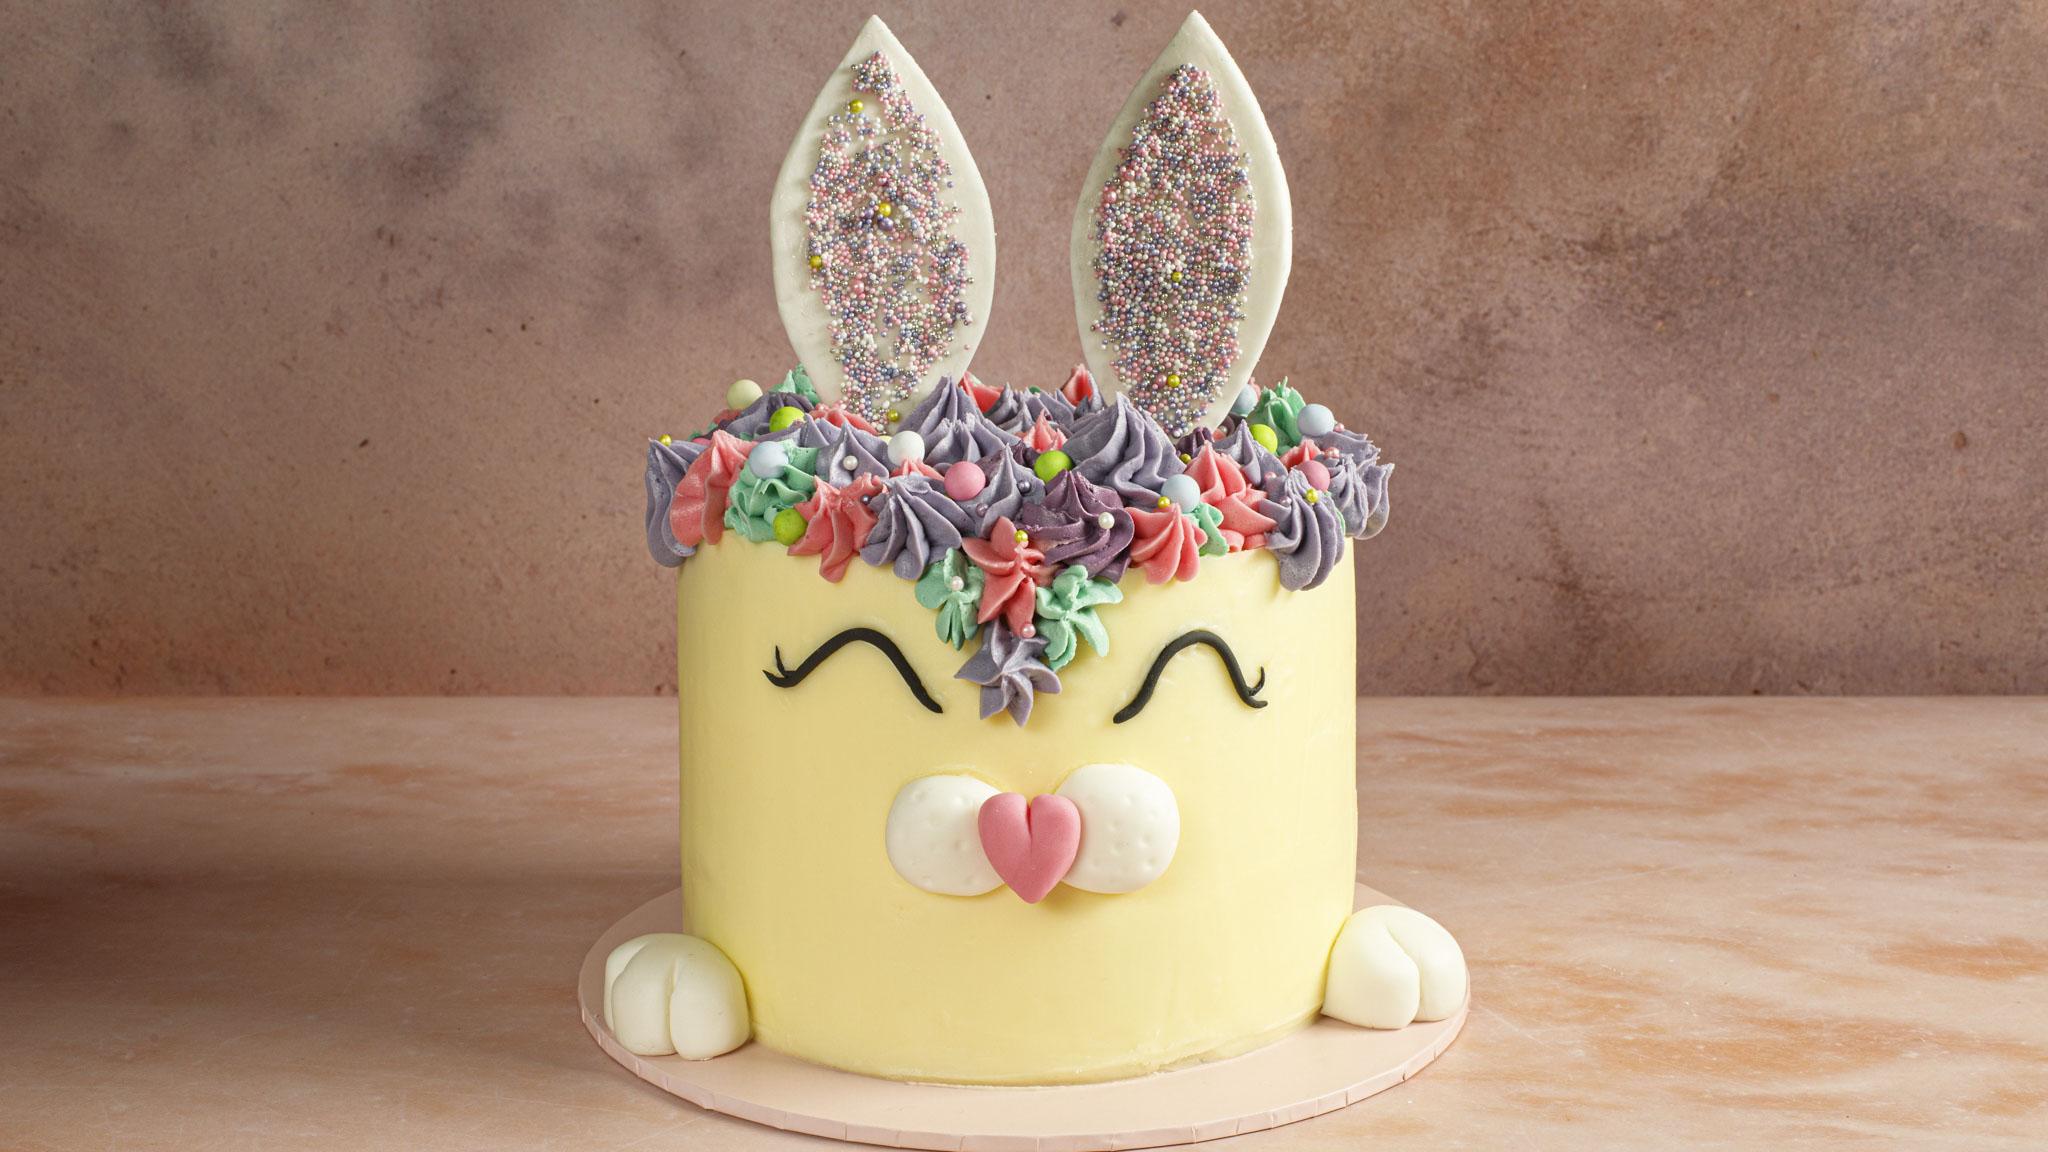
Easter Bunny Cake
For the full experience, make this recipe with the Kenwood Recipes app.

recipe by Kenwood https://kenwoodworld.com/
-

- Total Time
- 2hrs 30mins
-

- Serves
- 18
-

- Calories
- 1130
A colourful and cute lemon flavoured sponge cake, filled with lemon curd and buttercream, which will make everyone smile this, Easter. For this cake we recommend that you make the fondant bunny ears at least one day in advance, then allow them to dry out/firm up by placing them in a tray of cornflour- alternatively you could make these out of craft card instead. To colour the buttercream, we have used four different colours, alternatively you could use just one or two colours. We have used edible glue to stick the fondant features onto the cake, purchased from cake decorating suppliers, alternatively you could use a small amount of water or egg white. Use an 18 cm (7 inches) round tins, at least 3 cm deep.
recipe updated Feb 17, 2026
Ingredients
-
- Unsalted butter
- 1.4 kg
-
- Egg
- 7
-
- Lemon
- 4
-
- All purpose flour
- 450 g
-
- Baking powder
- 3 teaspoons
-
- Caster sugar
- 400 g
-
- Milk
- 6 tablespoons
-
- Vanilla extract
- 4 ½ teaspoons
-
- Salt
- 1 teaspoon
-
- Icing sugar
- 1.2 kg
-
- Cornstarch
- as needed
-
- Pink food coloring
- as needed
-
- Lilac food colouring
- as needed
-
- Green food coloring
- as needed
-
- Violet food colouring
- as needed
-
- Lemon curd
- 120 g
-
- White fondant
- 300 g
-
- Black fondant
- 20 g
-
- Sprinkles
- as needed
-
- Edible glue
- as needed


Tools
-
Oven
-
Kenwood Chef
-
Medium bowl
-
Round pan - 18cm (7")
-
Cake board - 25cm (10")
-
Large mixing bowl
-
Baking tray - large
-
Small bowl
-
-
-
-
Piping bag
Step preview
- Preheat the oven - 160ºC
- Grease three tins and line with parchment paper
- Sift the ingredients into a bowl, stir to combine and set aside
- Making the cake:
- Fit the Creaming Beater
- Add the ingredients into the appliance bowl
- Mix until light and fluffy and then scrape the bowl - 3 minutes, speed 3
- Transfer the flour mixture into the appliance bowl
- Then add the next ingredients and fit the splashguard
- Mix until combined and then scrape the bowl - 1 minute, speed 2
- Mix until smooth - 1 minute, speed 2
- Divide the batter evenly between the tins
- Bake until a skewer inserted comes out clean - 25-30 minutes, 160ºC
- Remove from the oven and let cool in the tin - 10 minutes
- Remove from the tin and let cool on the cooling rack completely
- Making the buttercream:
- Clean the appliance bowl and fit the Creaming Beater
- Add butter into the appliance bowl
- Mix until light and fluffy - 30 seconds, speed 3
- Then add the next ingredients and fit the splashguard
- Mix until smooth and then scrape the bowl - 1 minute, speed 2
- Mix until thick and smooth - 1 minute, speed 2
- Transfer 600 g of the buttercream into a clean bowl and cover the surface with plastic wrap to avoid a film from setting
- Transfer the remaining buttercream into a piping bag
- Trim the cooled sponges with a cake leveller, adjustable cake slicer, or serrated knife
- Place the cake board in the centre of a cake turntable
- Add a small amount of buttercream to the board to help the cake stick to the board
- Place the bottom sponge layer on a cake board, pipe a layer of buttercream on top and level with an angled spatula
- Pipe a ring of buttercream around the edge of the buttercream layer - this will create a wall of buttercream to stop the lemon curd filling escaping out between the layers of cake
- Then add a thin layer of lemon curd
- Top with another sponge and gently press down
- Repeat this layering process with the remaining sponge layers, curd and some of the buttercream
- Once assembled, fully coat the cake in a thin layer of buttercream
- Chill in the fridge until set - 30 mins
- One the cake has set, cover the sides and the top of the cake with some of the buttercream
- Chill in the fridge until set - 30 minutes
- Making the bunny ears:
- Sprinkle cornflour on a baking tray
- Draw a paper template for one of the ear shapes
- Roll out some of the white fondant until 5 mm thick - it needs to be thick enough to allow a lolly stick to be inserted to hold the shape upright on the cake
- Use a sharp knife to cut out two ears using the prepared template
- Insert a lolly stick into each ear, leave about half of the lolly stick visible for inserting into the cake
- Place the bunny ears on the prepared baking tray to allow them to dry out
- Make the bunny’s nose:
- Add a small amount of pink food colouring to a small piece of white fondant and knead until evenly coloured
- Make the snout:
- Roll two small balls of white fondant and flatten one side of each slightly
- Shape the pink fondant into a small heart to form the nose, making sure it fits neatly between the two snout pieces
- Set aside until ready to decorate
- Make the paws and tail:
- Take three balls of white fondant, approximately 4 cm in diameter
- Shape one ball into a fluffy tail
- Flatten the remaining two balls slightly to form the paws, then use a knife to make two small indentations in each paw to create toes
- Make the eyelashes:
- Take a small piece of black fondant and roll it into a thin rope
- Cut the rope into two 5 cm lengths
- Then roll two thinner pieces and curve them gently to resemble eyelashes
- Set aside until ready to assemble
- Retrieve the 600 g of buttercream
- Divide the buttercream between four small bowls
- Add a few drops of food colouring to each bowl and mix thoroughly until evenly coloured
- Transfer each colour to a separate piping bag fitted with your choice of piping tip
- Pipe swirls or dots of buttercream on top of the cake in alternating colours until completely covered
- Then pipe a few swirls or dots on the front of the cake creating a 'V' shape
- Decorate with sprinkles
- Remove the fondant bunny ears from the cornflour and brush away any excess using a pastry brush
- Apply a small amount of edible glue to the centre of the ears, then add sprinkles, and set aside to dry
- Attach the fondant snout to the front of the cake using edible glue or a small amount of water or egg white
- Attach the eyes using edible glue
- Place the fondant paws at the base of the cake
- Attach the bunny tail to the back of the cake
- Then attach the bunny ears to the top of the cake
- Serve