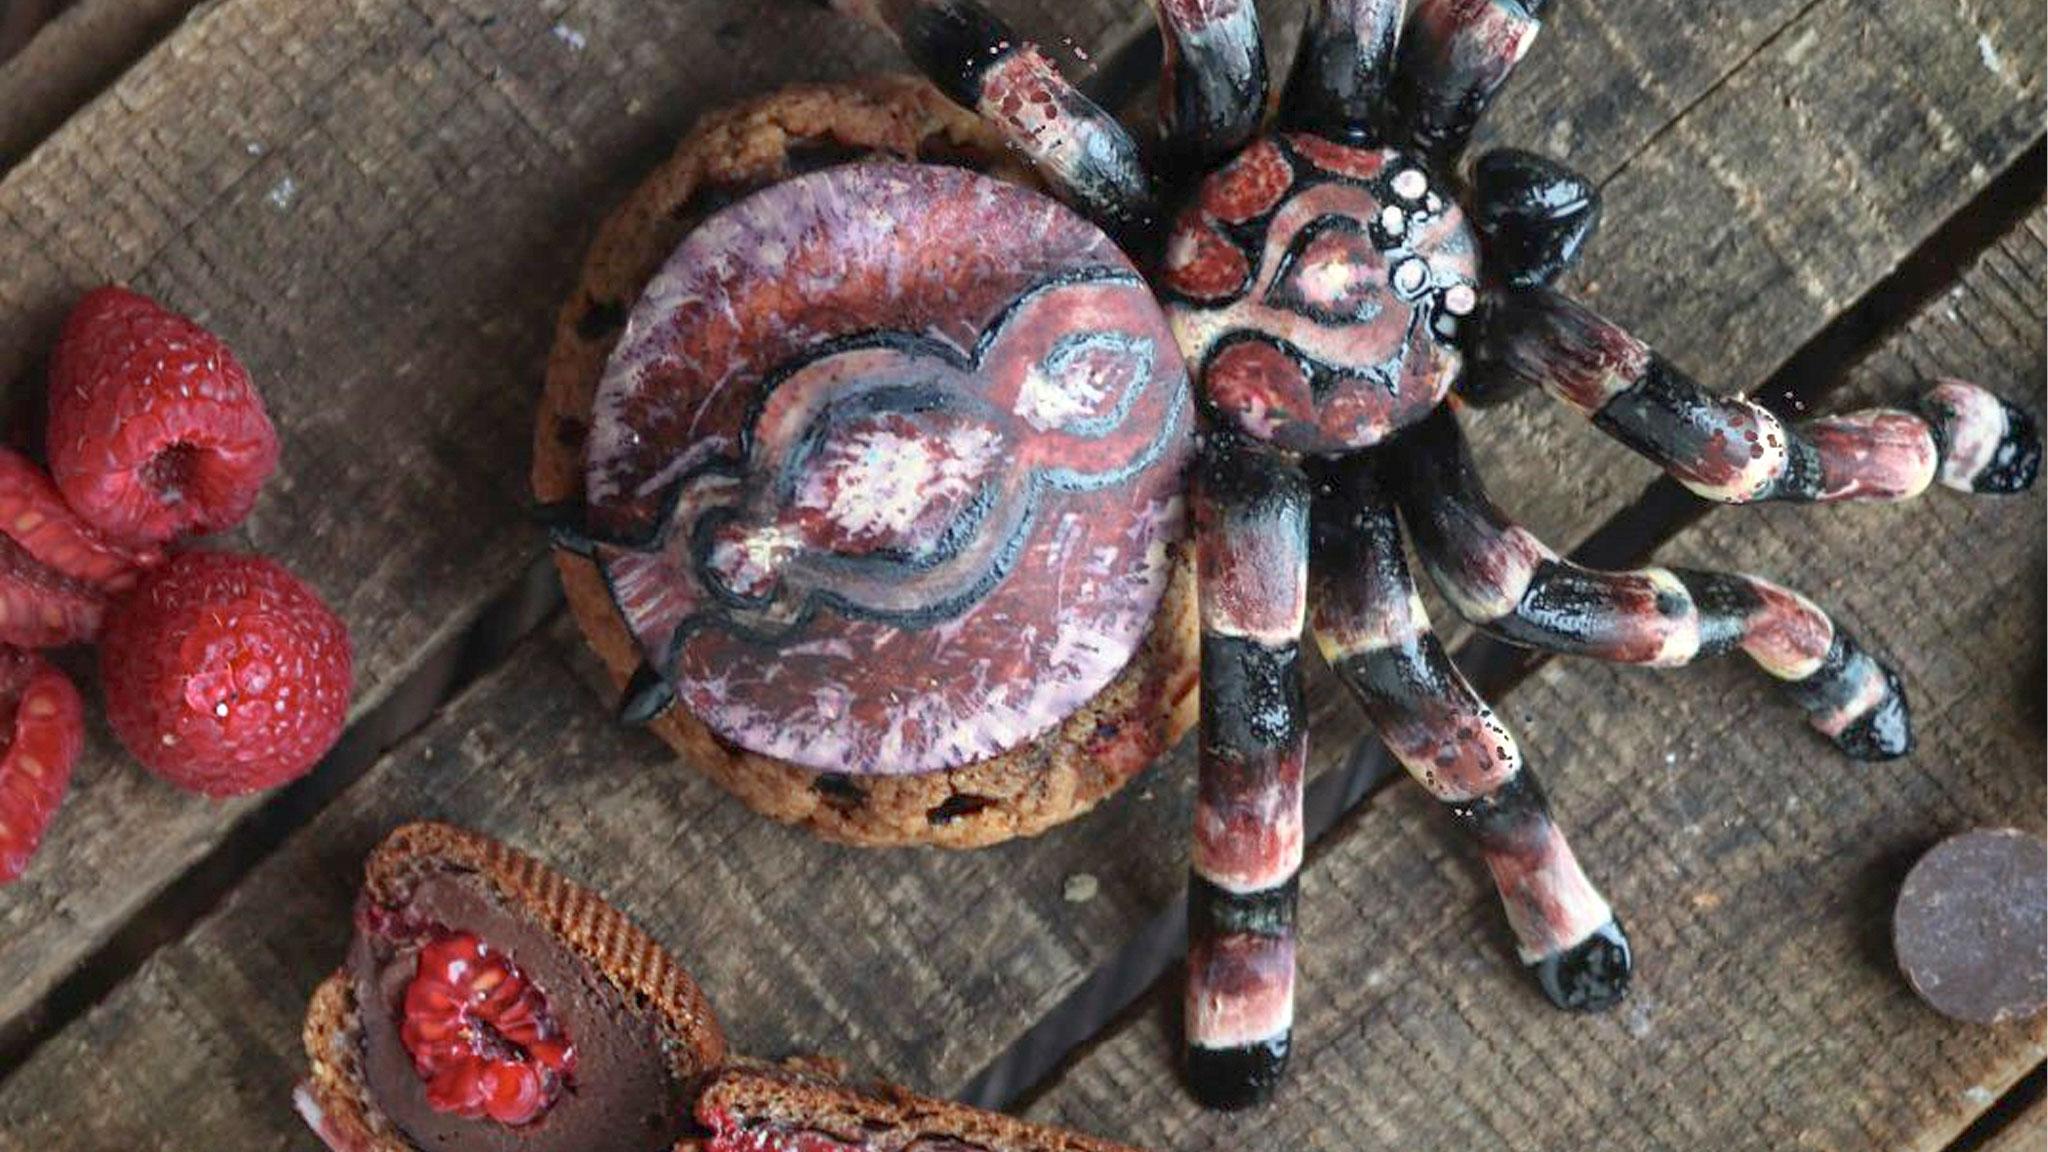
Chocolate and Raspberry Tarantula Profiterole
For the full experience, make this recipe with the Kenwood Recipes app.

recipe by Sandrine, Le Meilleur Pâtissier https://www.gateaux-et-toiles.com/
-

- Total Time
- 4hrs 0mins
-

- Serves
- 8
-

- Calories
- 450
Fear not! Each profiterole is meticulously sculpted into the realistic shape of a tarantula, creating a unique visual experience that will arouse your curiosity. The airy choux pastry is embellished with dark chocolate and raspberry, for the perfect gourmet combination. For a fruity and refreshing touch, we add juicy raspberries to these profiteroles, which blend harmoniously with the dark chocolate. User generated recipes have not been re-tested by Kenwood.
recipe updated 11 Jan 2024
Ingredients
-
- Tonka bean
- ½
-
- Dark chocolate
- 100 g
-
- Lemon
- ½
-
- Unsalted butter
- 40 g
-
- Milk
- 85 g
-
- Whipping cream
- 110 g
-
- Egg yolk
- 2
-
- Caster sugar
- 40 g
-
- Raspberry purée
- 150 g
-
- Vanilla sugar
- 2 teaspoons
-
- Pectin
- 2 g
-
- Vanilla bean seeds
- 1
-
- Brown sugar
- 40 g
-
- Plain flour
- 140 g
-
- Fine sea salt
- 8 g
-
- Water
- 160 g
-
- Unsalted butter
- 70 g
-
- Egg
- 160 g
-
- Silver leaf gelatin sheet
- 2
-
- Ground vanilla powder
- as needed
-
- Black food colouring
- as needed
-
- Brown food coloring
- as needed
-
- White sugar paste
- as needed
-
- Raspberries
- as needed


Tools
-
Oven
-
Stove
-
Kmix
-
Large mixing bowl
-
Saucepan
-
Piping bag
-
Demisphere mould
-
Baking tray - large
Step preview
- Making the chocolate cream:
- Add the ingredients into a saucepan
- Heat until boiling - about 3 minutes, medium-high heat
- Add the ingredients into a large bowl
- Whisk gently with a hand whisk until well combined
- Pour the hot milk mixture into the beaten eggs and mix gently until well combined
- Return the mixture to the saucepan
- Heat and whisk continuously - about 3 minutes, medium heat
- Remove from the heat
- Then add the next ingredient and whisk until combined
- Add the ingredient into the large bowl
- Pour the mixture from the saucepan over the chocolate and mix carefully with a spatula until well combined
- Cover with plastic wrap
- Chill in the fridge - 1 hour
- Making the confit:
- Add the ingredients into a saucepan
- Heat without boiling - medium heat
- Then add the next ingredients
- Heat until boiling - about 2 minutes, medium-high heat
- Remove from the heat
- Then add the next ingredient and mix until well combined
- Pour into a demisphere mould and chill in the freezer until needed
- Making the craquelin:
- Fit the K-Beater
- Add the ingredients into the appliance bowl, fit the splashguard
- Mix until smooth - 30 seconds, speed 3
- Place the dough on the parchment paper
- Cover with another sheet of parchment paper
- Roll out using a rolling pin until 2mm thick
- Chill in the freezer and continue - 30 minutes
- Making the choux pastry:
- Preheat the oven - 210ºC
- Line a baking tray with parchment paper and set aside
- Add the ingredients into the saucepan
- Heat until the mixture begins to simmer – high heat
- Then add milk
- Heat and bring to the boil - high heat
- Remove from the heat and add the ingredient
- Stir vigorously until combined and then return to the heat
- Heat, stirring constantly, until the mixture dries out - 6 minutes, medium heat
- Clean the appliance bowl and fit the K-Beater
- Transfer the mixture into the appliance bowl, fit the splashguard
- Mix - 1 minute, speed 2
- Mix - 1 minute, speed 4
- Then add the ingredients
- Mix - 15 seconds, speed 4
- Then add eggs one by one while the machine is running and mix - 2 minutes, speed 5
- Transfer the mixture to a piping bag
- Pipe round buns onto the tray, about 2cm wide for the heads
- Pipe round buns onto the tray, about 4cm wide for the bodies
- Remove the craquelin dough from the freezer
- Using a cutter, cut out rounds about 2cm and 4cm
- Place the craquelin onto each bun the same size as the craquelin
- Turn off the pre-heated oven and place the choux into the oven - 10 minutes
- Turn the oven back on and bake - 25 minutes, 180°C
- Remove from the oven and let cool
- Assembly:
- Cut each choux bun in half horizontally
- For the larger choux buns, fill one half with chocolate cream
- Then press a confit demisphere into the centre
- Top with the other half of choux bun and repeat with the rest
- For the smaller choux buns, fill one half with chocolate cream
- Then press a raspberry into the centre
- Preheat the oven - 60ºC
- Line a baking tray with parchment paper and set aside
- Use the sugar paste to sculpt legs and face fangs and then place them on the baking tray
- Bake until dried out and firm - 30 minutes, 60°C
- Remove from the oven and let cool
- Rollout the remaining sugar paste
- Using a cutter, cut out rounds similar size to the head and the bodies
- Decorate the discs and legs with the food colouring
- Place the small discs on the small choux and the larger discs on the larger choux buns
- Place the legs around the smaller choux and tuck them under
- Serve